Earlier we discussed about Different RESTful APIs. Click here for the earlier article.
- GET – Read Response, having details of requested resource.
- POST – Create or Update Resource such as List of Libraries.
- PUT – Update or Insert resource, body of the message specifies resource to be created.
- PATCH – Partial update of resource.
- DELETE – Removes resource from specific URL.
For example on POST method, click here.
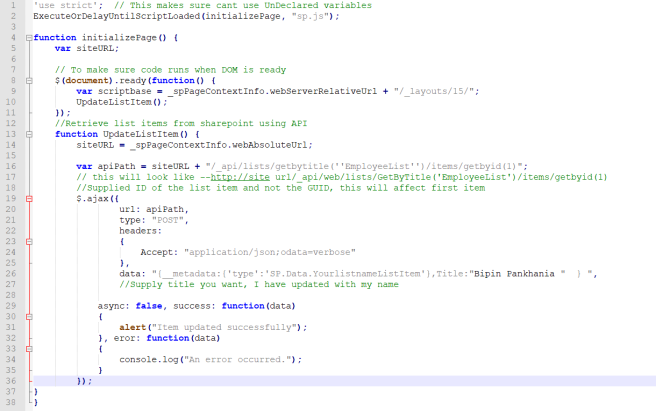
In this article we shall focus on PUT method and understand with example on how to Update SharePoint List Item using PUT REST API. Here sample code is to update list title.
We shall need to understand key difference between PUT and POST as what we achieve is same, only the way they are used is different.
- The PUT method completely replaces whatever currently exists at the target URL with something else.
- PUT operation is idempotent which means, if PUT operation is repeated multiple times ( hit same URI multiple times ) for same set of values then it will produce the same result, state of resource would be same.
- On the other hand, the POST method is not idempotent since if we send the same POST request multiple times, we will receive various results
Follow Below steps to use PUT method, please note, both examples are same for PUT and POST, only difference is the usage of the method.
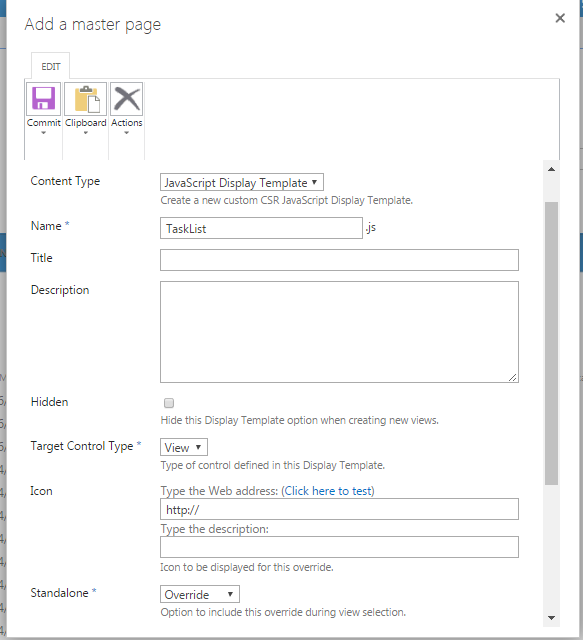
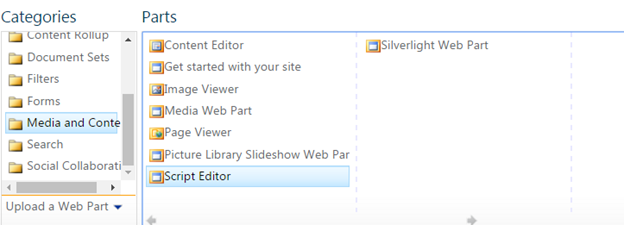
- Add Script Editor Webpart to SharePoint Page.
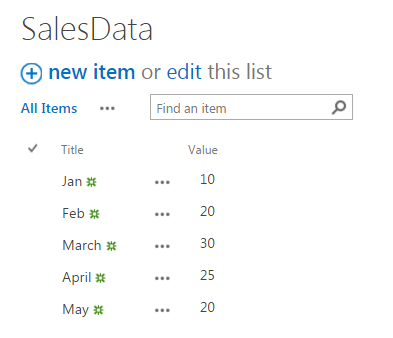
- Create List with title EmployeeList(Assume reader is aware how to create list in SharePoint)
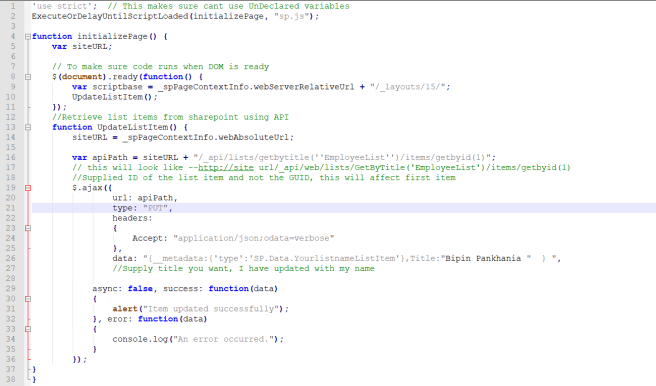
- API Url will look like: http://SiteUrl/_api/web/lists/GetByTitle(‘EmployeeList ‘)/items/getbyid(1)
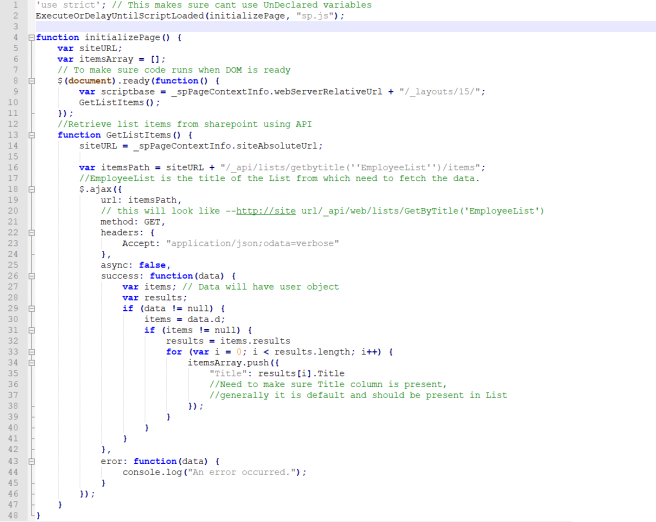
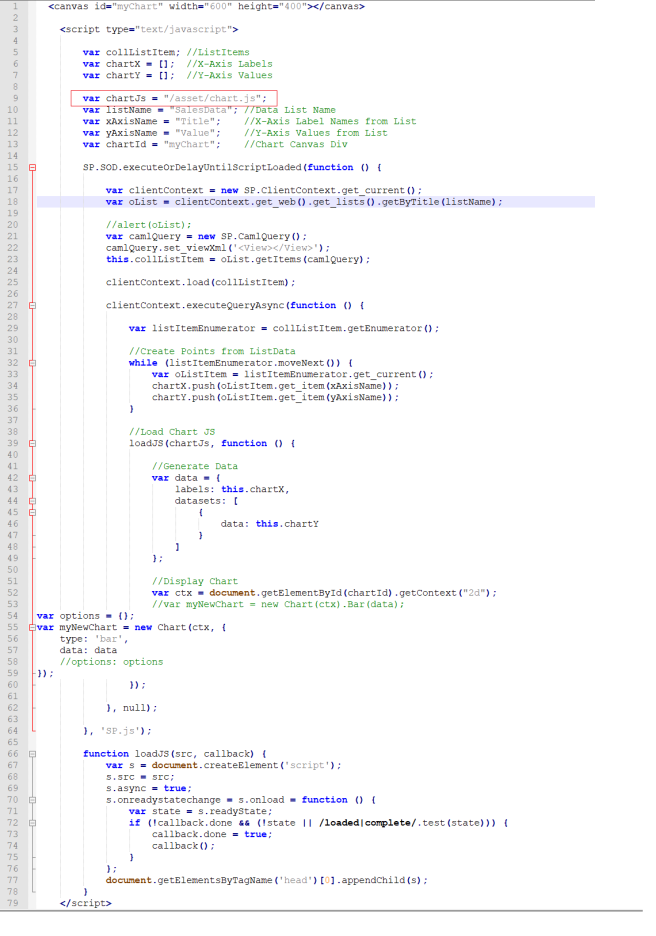
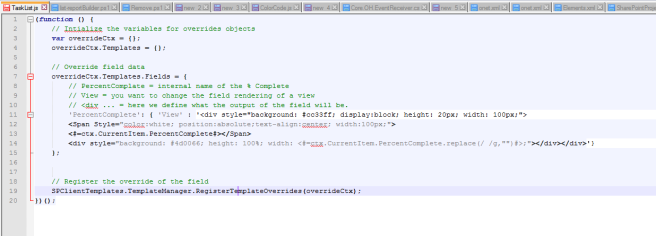
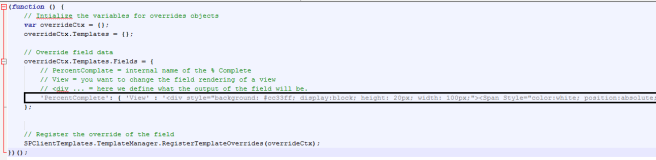
- Use the code given below(need to make sure you have created list name as given above, if not change list name accordingly based on which is present in site), I have attached screenshot, you may please drop email for code file if you need.
Hope this helps, next we shall focus on PATCH method from REST API.
————————————–
for queries, suggestions, feedback contact on
email :bipinparshottam@gmail.com
skype: bipin.pankhania